
In the Bootstrap K8s cluster – Kubeadm post, we punched in a lot of commands to get a k8s cluster.
In this blog let’s make that long process simple by using a script which I call Magic Script … rightly so, as I can have a working k8s cluster with JUST 1 COMMAND in under 5 mintues, that too on a windows machine 🙂
Yes you read it correct a Windows Machine … isin’t it cool to run k8s cluster on linux VMs hosted on a Windows machine !!
Magic Script
The process detailed in the last post is lengthy and still if you think that
- the commands used were just a tad too much
- you have a Windows machine & don’t have access to Linux VMs
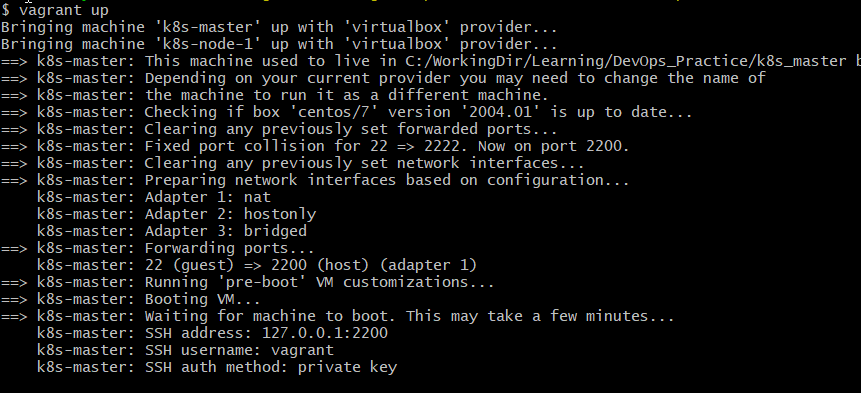
Don’t sweat …. use my magic script to sping-up a K8s cluster with a single command –> vagrant up
As with everything, usage of the script mandates the following pre-reqs
- Virtualisation enabled on your system
- Oracle VM VirtualBox installed
- HashiCorp Vagrant installed
- Git for windows installed
Don’t get overwhelmed by the software requirements. All free softwares available for standard download & install on your windows machine under 10 minutes. Another quick 5-10 minutes read to understand the basic use of these softwares
~ how to use the script
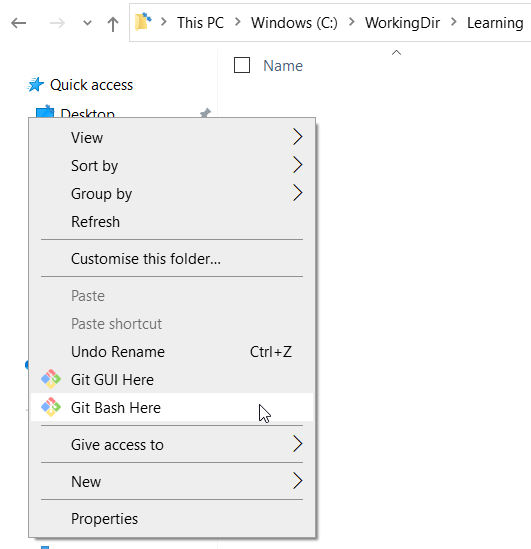
- Open Windows Explorer
- Create a <New Folder>
- Right click & choose ‘Git Bash Here’ option to open a Linux Terminal
- Access the Vagrantfile from the link –> https://gist.github.com/cloudmystic/78c2a61a14e38d92141e0968b0de824f
- Navigate to the folder containing the all important Vagrantfile file (move the file to different folder, if you choose to)
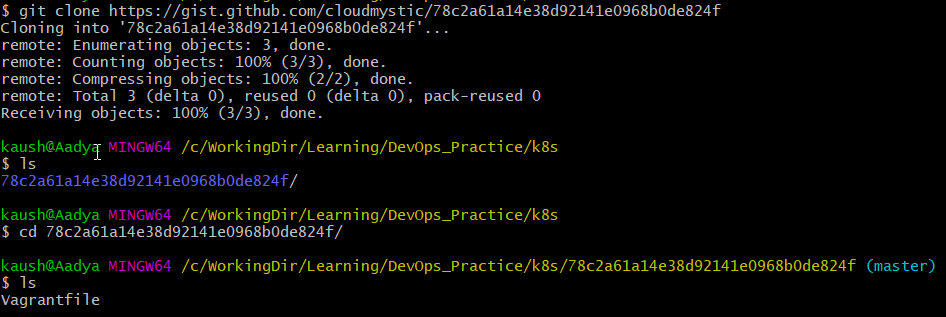
- Now all you need is to fire the command ‘vagrant up’ … sit back & relax to get a brand new working cluster ready in 2-3 minutes
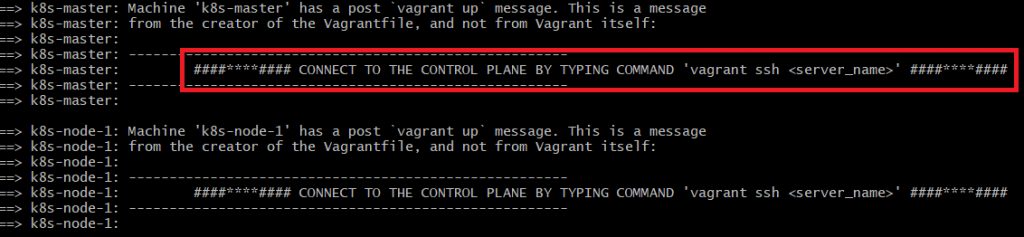
- Access the newly created cluster (default user/pwd of VMs created is vagrant/vagrant)
vagrant ssh k8s-master
kubectl get nodes
kubectl get pods --all-namespaces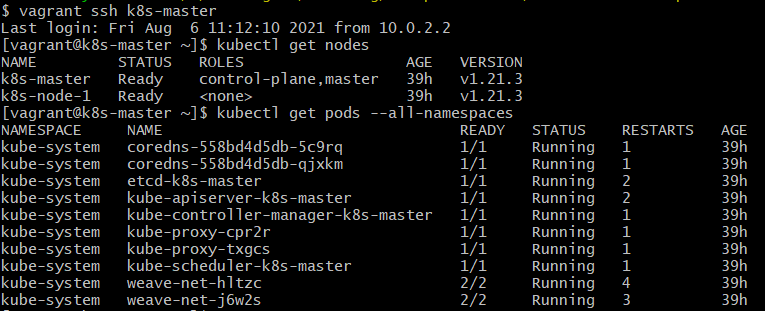
Please feel free to adjust the Vagrantfile to add nodes, change OS distributions, modify hostnames, modify IP address.
If you happen to be a scripting champion, please feel free to polish the script …. just don’t forget to comment and share 😉
Next we’ll explore how to install minikube – a single node cluster for dev/test purposes
till then Learn… Share… Grow…
Speak Your Mind